When it comes to home decor, walls play a pivotal role in setting the tone for your living space. However, dealing with outdated or unappealing wallpaper can be a challenge. Instead of the daunting task of removing it, consider a more convenient and cost-effective solution – painting over wallpaper. In this guide, we’ll explore the step-by-step process of transforming your walls with confidence, ensuring a seamless and stylish outcome.
1. Assessing the Condition of the Wallpaper
Before diving into the painting process, it’s essential to evaluate the condition of the existing wallpaper. Ensure that there are no loose edges, bubbles, or severe damage. If the wallpaper is in good condition, with minimal imperfections, painting over it can be a practical and aesthetically pleasing option.
2. Cleaning and Preparing the Surface
Proper preparation is key to a successful paint job. Start by thoroughly cleaning the wallpapered surface to remove any dust, grease, or residue. A mixture of warm water and mild detergent works well for this task. Allow the walls to dry completely before moving on to the next step.
3. Patching and Repairing
Address any imperfections on the wallpapered surface by patching and repairing. Use a high-quality wallpaper adhesive to reattach any loose edges or bubbles. For small holes or tears, a lightweight spackle can be applied and sanded once dry. This step ensures a smooth and even canvas for your paint.
4. Primer Application
To enhance paint adhesion and create a uniform surface, apply a high-quality primer. Choose a primer that is specifically formulated for wallpaper or glossy surfaces. Use a brush or roller to apply the primer evenly, covering the entire wallpapered area. Allow the primer to dry completely before proceeding to the next step.
5. Choosing the Right Paint
Selecting the appropriate paint is crucial for a successful outcome. Opt for a high-quality latex paint that is compatible with the primer. Satin or semi-gloss finishes are recommended for their durability and ease of cleaning – essential factors for walls that may encounter daily wear and tear.
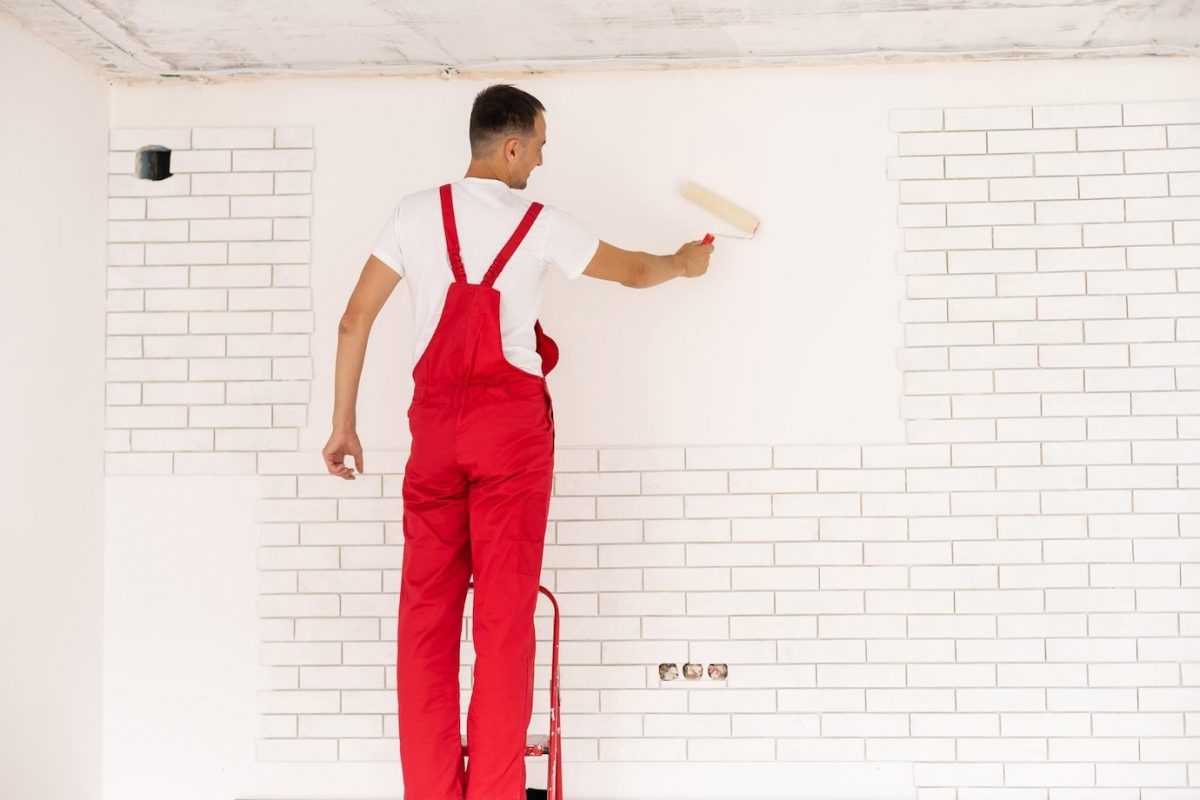
6. Painting Techniques
When it comes to painting over wallpaper, technique is key. Begin by cutting in around the edges of the walls with a brush, and then use a roller to cover larger areas. Work in small sections to ensure an even application. Multiple thin coats are preferable to one thick coat, as this reduces the risk of the paint causing the wallpaper to peel or bubble.
7. Adding Personal Touches
Once the paint has dried completely, it’s time to add your personal touch to the space. Consider incorporating accent colors, stencils, or even a mural to make the walls uniquely yours. This step allows you to showcase your creativity and further enhance the overall aesthetic of the room.
Conclusion
Painting over wallpaper offers a practical and budget-friendly way to transform your walls with confidence. By following these step-by-step guidelines, you can breathe new life into your living space without the hassle of wallpaper removal. From assessing the condition of the wallpaper to selecting the right paint and adding personal touches, this process empowers you to create a stylish and refreshed environment that reflects your unique taste and personality. Say goodbye to outdated wallpaper and hello to a fresh, modern look for your home.